


Proper Tesla rear hatch alignment is vital for safety and aesthetics after collisions. It requires specialised tools like aligners, mallets, wrenches, and suction cup lifters to adjust hinges, tracks, and latches accurately without damaging advanced systems. Safety precautions include using a level surface, parking brake, jack stand, and protective gear. Inspect and align the hatch against manufacturer specs, ensuring all components are secure before lowering the car for final checks.
“Unleash the full potential of your Tesla with our expert guide to perfect rear hatch alignment. Navigating the intricate geometry of your vehicle’s rear end ensures a seamless, professional fit every time. This comprehensive piece delves into the essential tools and step-by-step techniques required for precise adjustment. From understanding the unique Tesla rear hatch design to mastering the alignment process, you’ll gain the knowledge to achieve optimal performance and aesthetics. Master these tips, and your Tesla’s rear hatch will be a testament to your meticulous attention to detail.”
- Understanding Tesla Rear Hatch Geometry
- Tools Required for Precise Alignment
- Step-by-Step Guide to Perfect Alignment
Understanding Tesla Rear Hatch Geometry
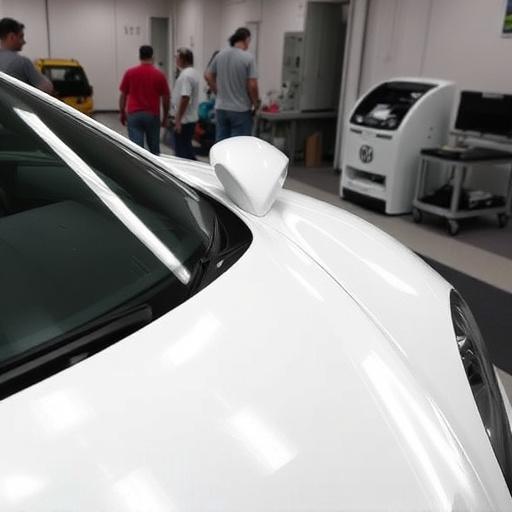
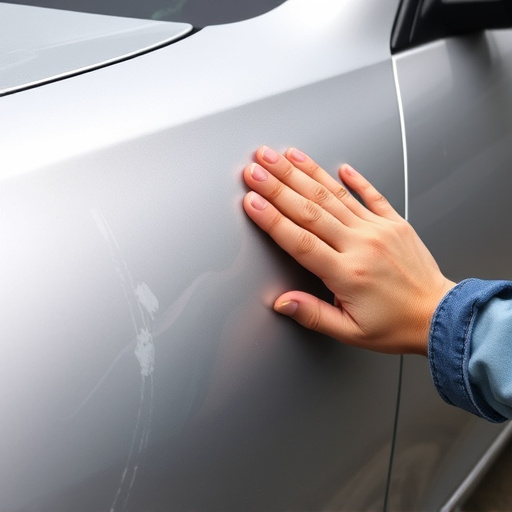
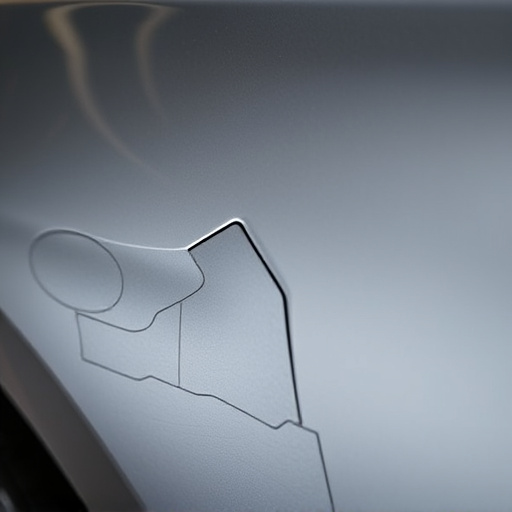
Understanding Tesla Rear Hatch Geometry is key to achieving proper alignment after any minor or major collision, even what some might refer to as a fender bender. The Tesla rear hatch, being a seamless and sleek design element, requires precise adjustment of various components following impact. This includes realigning the hatch itself, ensuring it sits flush with the car’s body lines, and properly aligning the locking mechanism for secure closure.
Body experts emphasize that proper alignment is not just about aesthetics; it also ensures the safety and reliability of your vehicle. A misaligned rear hatch could compromise structural integrity, affecting how well the vehicle protects its occupants in case of future accidents. Therefore, when dealing with any car repair services, especially after a collision, Tesla owners should prioritize rear hatch alignment to maintain both functionality and safety features, such as automatic tire services and other advanced systems housed within the hatchback area.
Tools Required for Precise Alignment

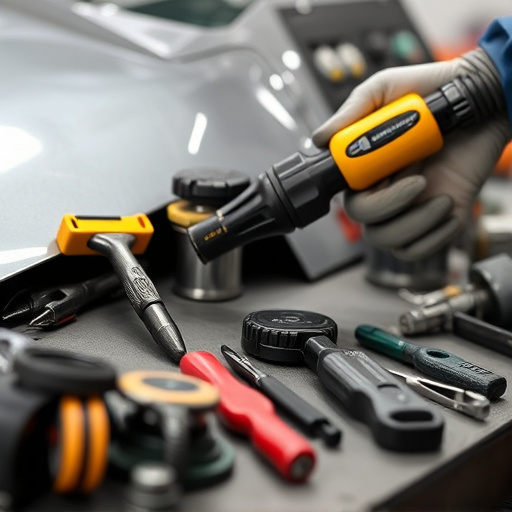
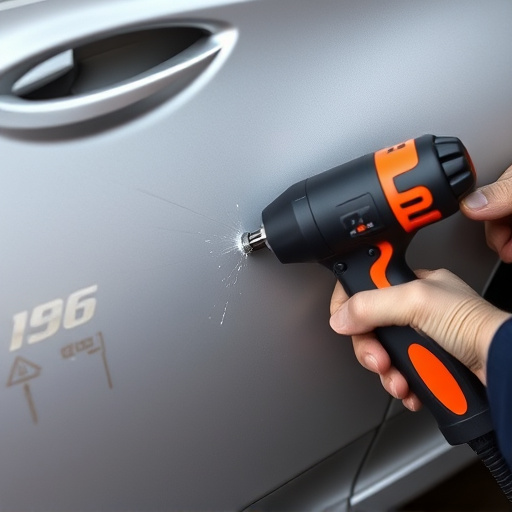
Achieving precise Tesla rear hatch alignment is crucial for both aesthetics and functionality. The process requires a set of specific tools tailored to automotive body work. Firstly, invest in a high-quality aligner or mallet designed for delicate car body restoration tasks. These tools ensure accurate adjustments without causing damage. Additionally, gather several types of wrenches, ranging from standard to impact, to loosen and tighten various components securely.
Don’t forget the importance of safety gear, including gloves and safety glasses, as these will protect you during the repair process. For more complex cases or significant bumper repair, consider a suction cup or vacuum lifter to safely hold and maneuver heavy parts. These tools are essential for successful Tesla rear hatch alignment, ensuring both accuracy and longevity in your automotive body work.
Step-by-Step Guide to Perfect Alignment
Achieving perfect Tesla rear hatch alignment is an art that requires precision and a keen eye for detail. The process involves several meticulous steps to ensure your vehicle’s bodywork is not only aligned but also restored to its optimal condition. Start by gathering all necessary tools, including alignment equipment, replacement parts if needed, and protective gear. Safety should always be a priority when working on your vehicle.
First, park the Tesla on a level surface and engage the parking brake. Jack up the rear of the car using a reliable jack stand for stability. Remove the wheel well cover to access the rear hatch mechanism. Inspect the hinges, tracks, and latches for any signs of damage or misalignment. Using the alignment equipment, measure the current alignment and compare it to the manufacturer’s specifications. Make adjustments as required, tightening bolts incrementally until the hatch is level and properly aligned with the vehicle’s body. Ensure all components are securely fastened before lowering the car. Final checks should include a visual inspection for any gaps or misalignments, confirming the rear hatch operates smoothly and seamlessly integrates with the Tesla’s overall design.
Tesla rear hatch alignment is a task that, when mastered, can significantly enhance your vehicle’s aesthetics and functionality. By understanding the unique geometry of the Tesla rear hatch and employing the right tools, you can achieve perfect alignment with ease. Following our step-by-step guide ensures precise results, allowing you to navigate this process successfully and revel in a sleek, well-aligned hatchback.