
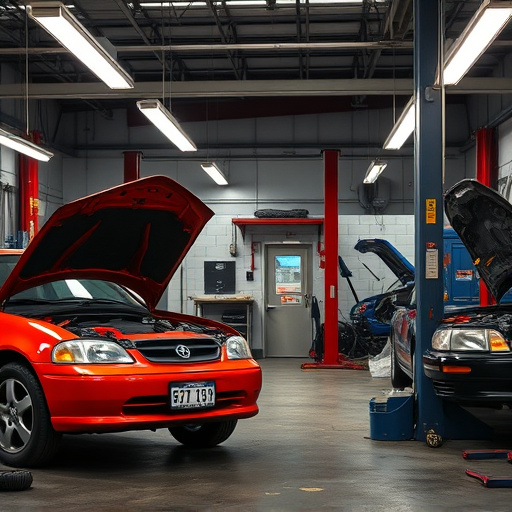
Proper Tesla rear hatch alignment prevents paint damage, water intrusion, and bumper rubbing, ensuring smooth operation and maintaining vehicle aesthetics. Use specialized tools for precise mapping, follow safety guidelines, refer to service manuals, and prepare vehicle correctly before adjusting alignment using jack stands, identifying points, and verifying from multiple angles to avoid scratches or complex issues. Consult professionals for advanced cases.
“Tesla owners often face a dilemma when it comes to their vehicle’s rear hatch alignment—achieving precision without risking paint damage. This comprehensive guide addresses this challenge head-on, offering a detailed exploration of Tesla rear hatch alignment fundamentals and practical tips.
From understanding the basic mechanics to mastering safety protocols, we equip you with the knowledge needed for accurate alignment. We then provide a step-by-step process, ensuring your success in perfecting this intricate task without leaving any unsightly paint marks.”
- Understanding Tesla Rear Hatch Alignment Basics
- Tools and Safety Measures for Accurate Alignment
- Step-by-Step Guide to Alignment Without Paint Damage
Understanding Tesla Rear Hatch Alignment Basics
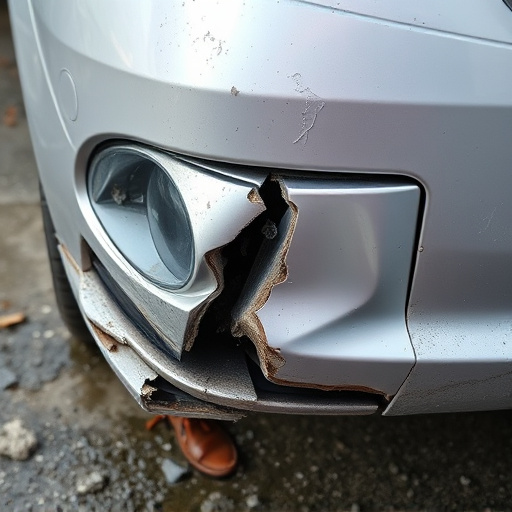
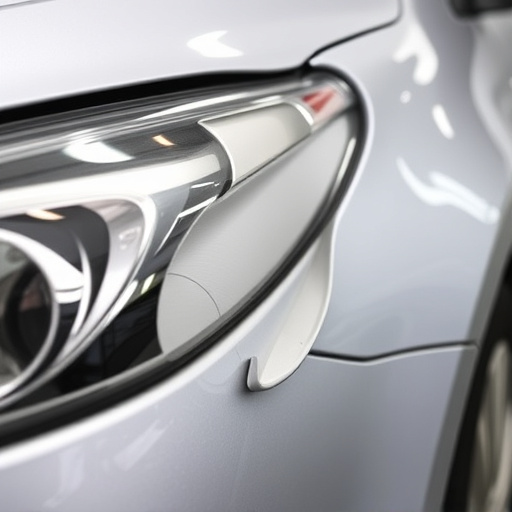
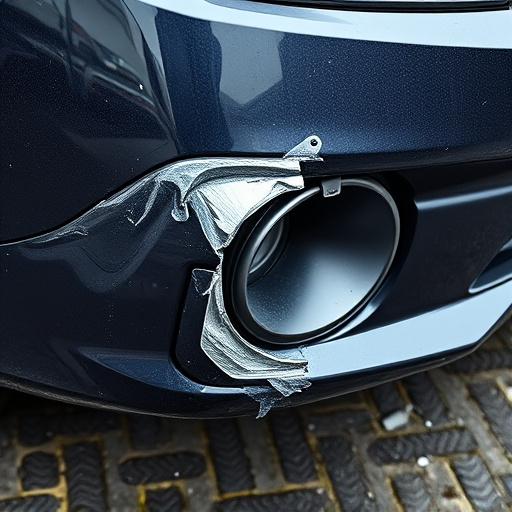
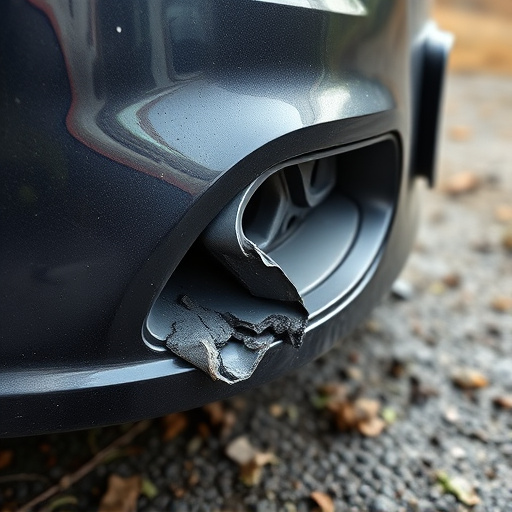
Tesla rear hatch alignment is a critical aspect of vehicle maintenance that ensures your car’s rear door operates smoothly and securely. It involves adjusting the vertical and horizontal alignment of the rear hatch, ensuring it lines up perfectly with the car’s body. This process is particularly important for Tesla owners as misaligned hatches can lead to paint damage during opening or closing, which is a costly repair.
Understanding the basics of Tesla rear hatch alignment starts with recognizing the components involved. The rear hatch is connected to the vehicle through a series of hinges and mechanisms that require precise calibration. Any deviation from this alignment can cause the hatch to rub against the car’s bumper or other parts during movement, leading to potential bumper repair needs. Moreover, proper alignment ensures a seamless seal, preventing water intrusion into the vehicle during fleet repair services or vehicle restoration processes. Regular checks and adjustments are recommended to maintain optimal alignment, minimizing the risk of future damage.
Tools and Safety Measures for Accurate Alignment
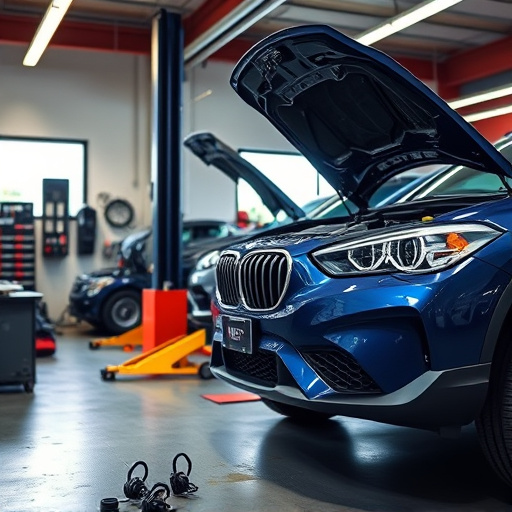
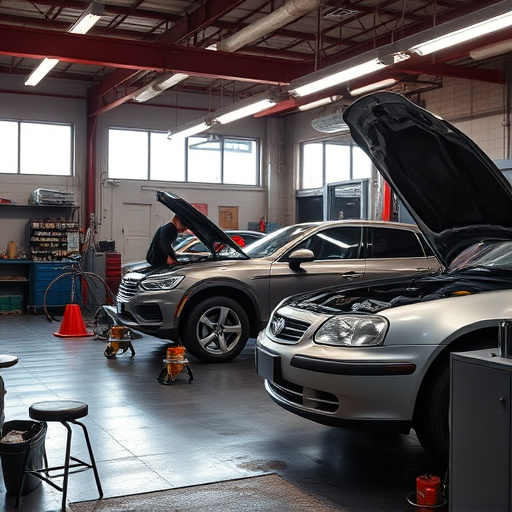
Achieving precise Tesla rear hatch alignment is paramount to preserving the vehicle’s aesthetic integrity and avoiding costly car damage repair. To ensure accuracy, a multifaceted approach is essential. Begin by gathering the necessary tools, including specialized alignment equipment designed specifically for electric vehicles, such as a 3D laser scanner or an advanced camera system. These technologies enable detailed mapping of the hatch area, facilitating exact adjustments without paint damage.
Safety measures are equally vital during this process. Always wear protective gear, like gloves and safety glasses, to safeguard against any debris or unexpected movements. Create a clear workspace, clearing nearby areas of tools, materials, or obstacles that could hinder access or cause accidental damage. Moreover, consult your vehicle’s service manual for specific guidelines tailored to your Tesla model, ensuring a smooth and secure rear hatch alignment experience, potentially eliminating the need to visit an auto repair near me for adjustments.
Step-by-Step Guide to Alignment Without Paint Damage
Step-by-Step Guide to Tesla Rear Hatch Alignment Without Paint Damage
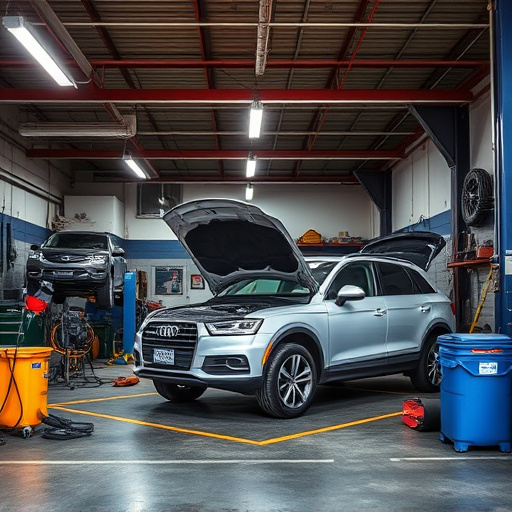
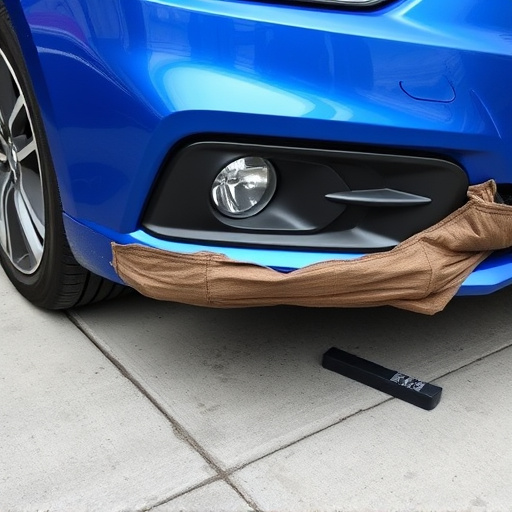
To align your Tesla rear hatch without risking paint damage, start by preparing your workspace. Park the vehicle on a level surface and engage park assist for precision. Gather all necessary tools: jack, jack stands, alignment equipment (like wheel chocks, wheel blocks, or an alignment lift), and protective gear like gloves and safety glasses. Ensure your work area is well-lit and clear of obstacles. Next, elevate the car safely using the jack and secure it with jack stands for stability.
With the vehicle secured, locate the rear hatch alignment points. These are usually marked or have small indentations designed for precise adjustment. Using your alignment equipment, carefully adjust the hatch to the desired position without applying excessive force. Focus on straightness and levelness, ensuring the hatch is centered both vertically and horizontally. Once aligned, lower the vehicle gently and remove all tools. The final step involves verifying the alignment by inspecting from various angles, ensuring no paint has been scratched or damaged during the process. For complex cases, consider consulting a professional with experience in Tesla repair and mercedes benz collision repair techniques to avoid collision damage repair needs.
Achieving precise Tesla rear hatch alignment without paint damage is both feasible and safer than you might think. By understanding your vehicle’s mechanics, investing in the right tools, and following a meticulous step-by-step guide, you can ensure a flawless process. Remember, accurate alignment not only enhances your car’s aesthetics but also improves its overall performance. So, whether you’re a seasoned DIY enthusiast or a Tesla owner looking to maintain your vehicle’s value, these tips on Tesla rear hatch alignment are sure to come in handy.