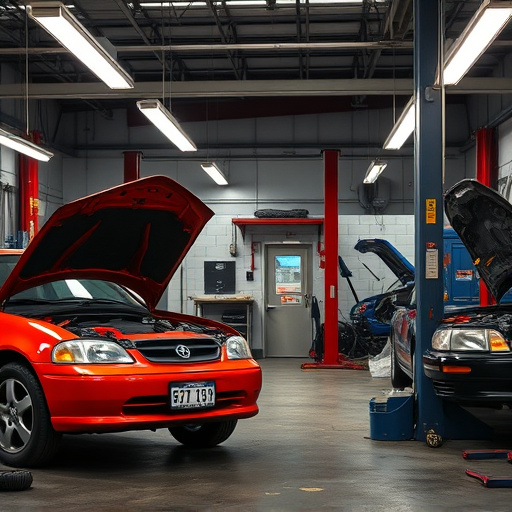


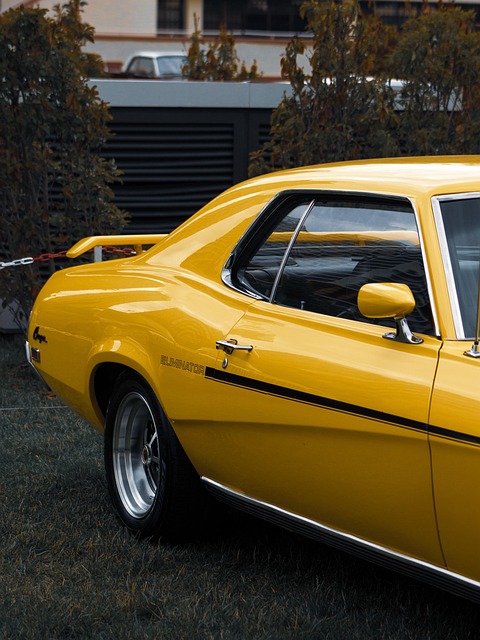
Tesla rear hatch alignment is a critical, often ignored aspect of vehicle care, impacting aesthetics, functionality, and durability. Common issues include gaps, misalignment, damaged seals from wear or repair, requiring prompt attention to prevent water intrusion, rust, and corrosion. DIY enthusiasts can achieve precise alignment using high-quality tools like aligner wedges, jack, jack stands, measuring tape, and an optional aligner tool kit with precision gauges and templates. Following a step-by-step guide, adjust rear wheels first, then insert shims for flush hatch placement, gradually tightening nuts for both looks and performance in your electric vehicle.
Tesla owners often face challenges with their rear hatch alignment, impacting both aesthetics and functionality. This comprehensive guide delves into the best DIY techniques for achieving perfect alignment. We’ll explore common issues and their effects, discuss essential tools and materials, and provide a detailed step-by-step process. By mastering Tesla rear hatch alignment, you can enhance your vehicle’s look and performance, ensuring a satisfying DIY experience.
- Understanding Tesla Rear Hatch Alignment: Common Issues and Their Impact
- Top DIY Tools and Materials for Perfect Rear Hatch Alignment
- Step-by-Step Guide: Aligning Your Tesla's Rear Hatch Like a Pro
Understanding Tesla Rear Hatch Alignment: Common Issues and Their Impact
Understanding Tesla Rear Hatch Alignment: Common Issues and Their Impact
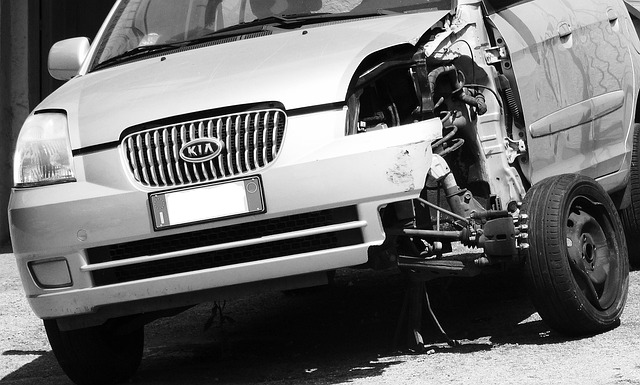
Tesla rear hatch alignment is a critical aspect of vehicle maintenance that often goes overlooked until issues arise. Misaligned rear hatches can lead to multiple problems, from aesthetic imperfections like gaps or misalignment to functional difficulties that impact the overall performance of your vehicle. Over time, a poorly aligned rear hatch may cause wear and tear on seals, affecting water and weatherproofing, and potentially leading to rust or corrosion.
Common issues include hatches that don’t close properly, visible gaps between the hatch and body panels, and damaged seals. These problems can stem from various causes, such as vehicle collision repair, normal wear and tear, or improper installation during auto body services. Regular checks and prompt addressing of alignment issues are key to maintaining the integrity and longevity of your Tesla’s rear hatch, ensuring both optimal functionality and protection against the elements.
Top DIY Tools and Materials for Perfect Rear Hatch Alignment
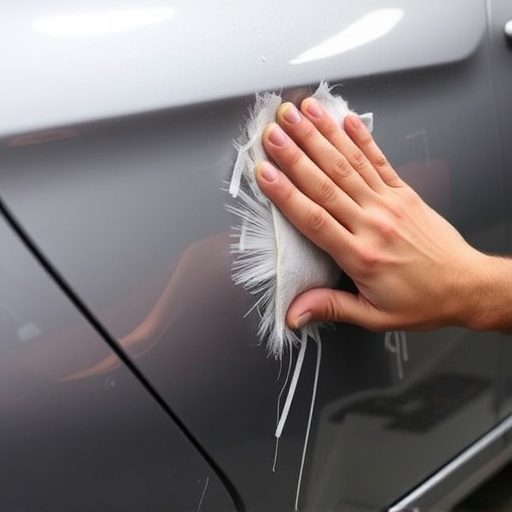
Achieving perfect Tesla rear hatch alignment is within reach for car enthusiasts with a DIY mindset. To tackle this project successfully, gather the right tools and materials first. The foundation lies in acquiring a high-quality set of aligner wedges, which are crucial for adjusting the hatch’s position accurately. These wedges come in various sizes, allowing you to fine-tune the alignment until it’s spot on.
Don’t underestimate the power of a reliable jack and jack stands; they’re essential for safely lifting and supporting the vehicle during the alignment process. A precise measuring tape is also key, ensuring every adjustment is accurate down to the millimeter. For those seeking a more professional touch, consider investing in an aligner tool kit that often includes precision gauges and templates, making the job easier and more efficient. Remember, the right auto bodywork tools can make all the difference in achieving that perfect Tesla rear hatch alignment.
Step-by-Step Guide: Aligning Your Tesla's Rear Hatch Like a Pro
Aligning your Tesla’s rear hatch to perfection is an art that every car enthusiast should master. This step-by-step guide will help you achieve just that, ensuring your electric vehicle looks and performs at its best. Start by parking your Tesla on a level surface, engaging park assist for precision. Next, locate the alignment tools provided in your owner’s manual, which often include a set of metal shims and adjustable wrenches.
Begin by adjusting the rear wheels to ensure they are aligned correctly, a crucial step before tackling the hatch. Then, carefully insert the shims between the fender and body, taking care not to damage any surrounding components—this is especially important if you’ve experienced any car collision repair or fender repair in the past. Gradually adjust the shims until the hatch sits flush, then tighten the nuts securely. Remember, precision is key; take your time to achieve the ideal alignment, resulting in a sleek and harmonious rear end.
Achieving perfect Tesla rear hatch alignment is within your grasp using today’s DIY techniques. By understanding common issues and their impact, selecting the right tools and materials, and following a step-by-step guide, you can ensure your vehicle’s rear hatch functions smoothly and looks sleek. With these techniques, you’ll be able to align your Tesla’s rear hatch like a pro and enjoy an enhanced driving experience.